

How to Install X-Liner 3D Cabin Mats: A Step-by-Step Guide
AI Overview Summary
Step-by-step installation instructions for X-Liner 3D all-weather cabin mats, detailing floor clearance, retention clip securing, and proper pedal gap checking.
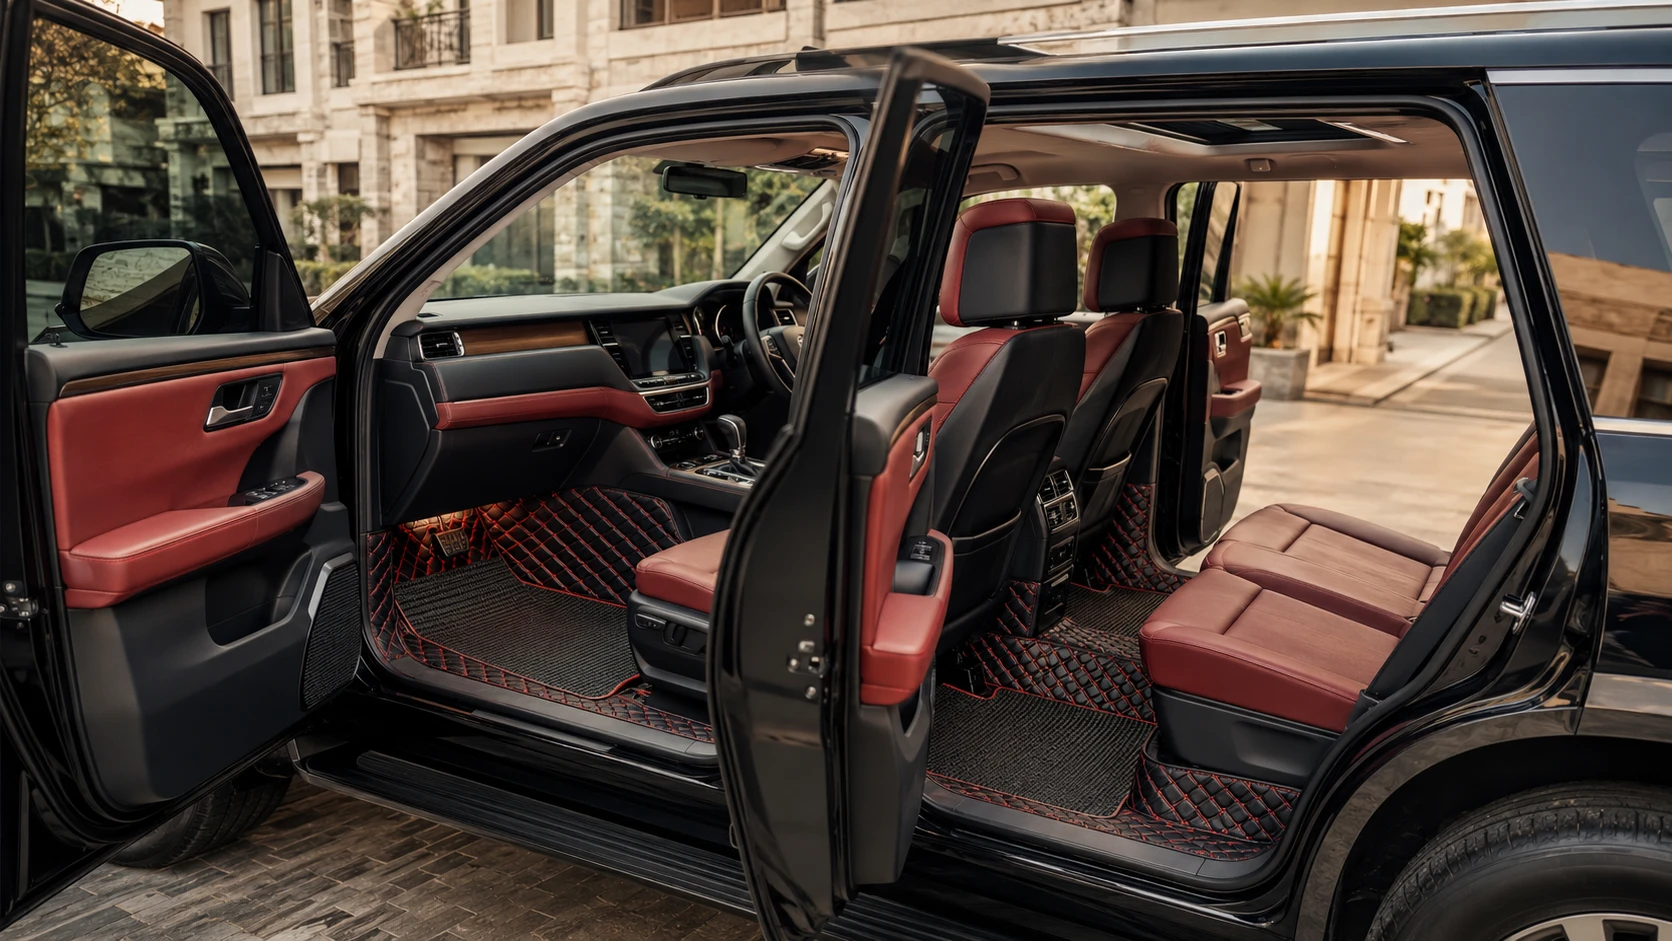
Installing X-Liner 3D cabin mats in your car takes less than 15 minutes and ensures maximum protection against dirt, liquid spills, and heel wear. Follow this quick step-by-step installation guide from Autotech Motors.
Step 1: Clear and Vacuum Existing Car Carpeting
Before installing your new X-Liner mats, remove all old fabric or rubber floor mats. Thoroughly vacuum the original factory carpeting to remove dust particles, small stones, and debris that could prevent proper anti-skid backing adhesion.
Step 2: Position Front Driver & Passenger Mats
Slide the driver-side X-Liner mat under the steering column. Align the mat retention holes with your car's factory floor pegs/clips and press down firmly until you hear a locking click.
Step 3: Verify Pedal Travel Distance
Fully depress the brake, clutch, and accelerator pedals to confirm there is at least 1.5 inches of unobstructed clearance. Never drive a vehicle if a floor mat interferes with pedal movement.
Step 4: Lay Down Rear Bench Mat
Unroll the rear 3D liner across the rear floor hump. Press the raised edges against the seat runner tracks for a seamless, factory-finish aesthetic.
Frequently Asked Questions
Compatible Products
 -30%
-30%
-30%
-30%
-30%
-30%